In the world of baking and culinary arts, few ingredients command as much respect as buttermilk. This deceptively simple dairy product holds the power to transform ordinary recipes into extraordinary culinary creations—from ethereally light pancakes and remarkably moist cakes to perfectly crispy fried chicken and flaky, tender biscuits. Yet despite its importance, many home cooks find themselves facing a common kitchen dilemma: the recipe calls for buttermilk, but their refrigerator holds none.
Rizz Line Generator
This comprehensive guide represents the definitive resource on buttermilk substitution, offering not just quick fixes but deep culinary understanding. We’ll explore the science behind buttermilk’s magic, provide multiple reliable substitution methods, and share professional tips that will elevate your cooking and baking to new heights. Whether you’re an experienced baker or a kitchen novice, this knowledge will empower you to approach recipes with newfound confidence and creativity.
The Science Behind Buttermilk’s Magic
Understanding the fundamental principles of how buttermilk works is essential to mastering its substitution. Traditional buttermilk was the liquid remaining after churning butter from cream. Modern commercial buttermilk is typically “cultured,” created by introducing specific bacterial strains to milk, which ferment the lactose into lactic acid.
This transformation gives buttermilk four key properties that make it indispensable in cooking and baking:
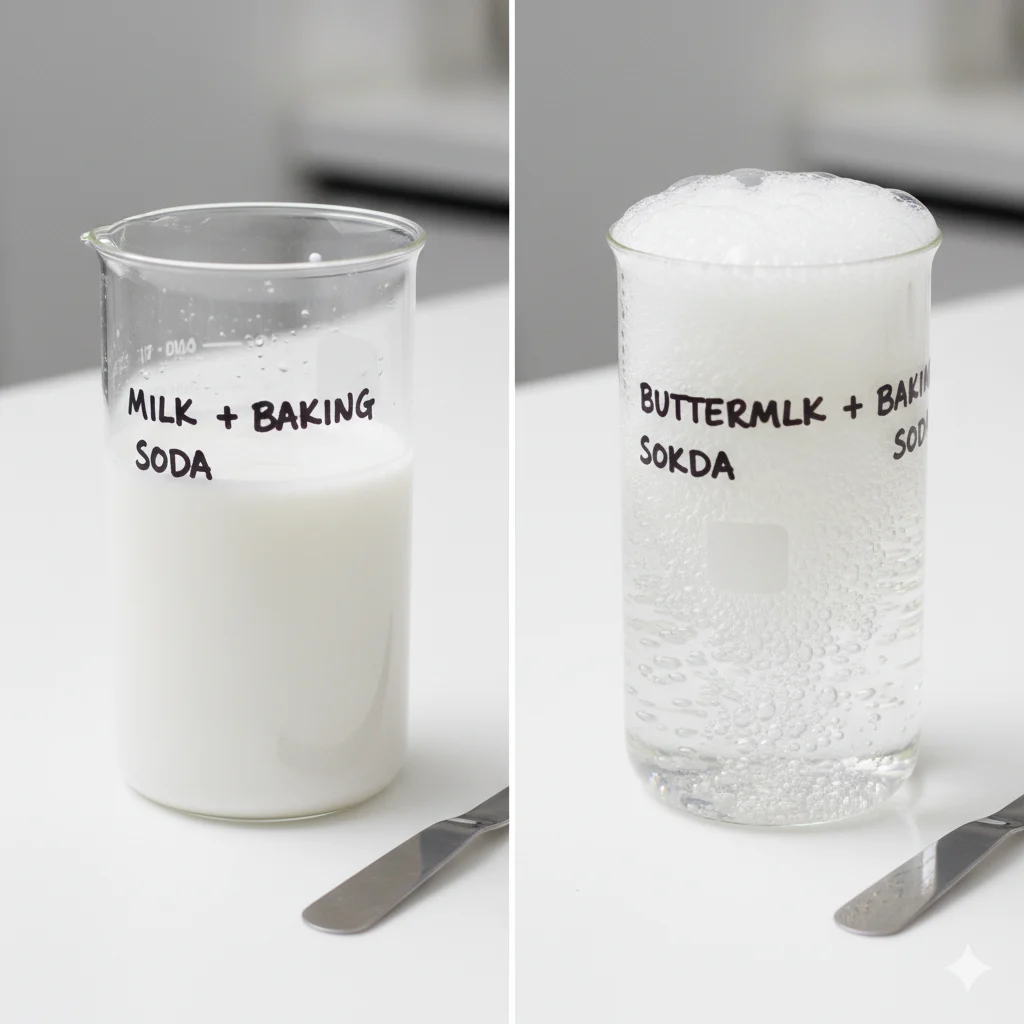
1. Chemical Leavening Properties
When buttermilk combines with baking soda (a base), an immediate acid-base reaction occurs, producing carbon dioxide bubbles. These tiny bubbles expand when heated, creating the lift that makes pancakes fluffy and biscuits light. This reaction is fast-acting, which is why batters using baking soda must be cooked immediately.
2. Protein Modification and Tenderization
The acidic environment of buttermilk (typically pH 4.4-4.6) helps break down and unwind protein structures. In baked goods, this means gluten strands in flour remain shorter and more tender. In marinades, it means meat proteins become more relaxed and absorbent, resulting in exceptionally tender results.
3. Enhanced Flavor Complexity
Buttermilk contributes a distinctive tangy flavor that balances sweetness in baked goods and adds depth to savory dishes. This complexity comes from the combination of lactic acid and other compounds produced during fermentation.
4. Improved Moisture Retention
The proteins and acids in buttermilk help baked goods retain moisture more effectively, leading to cakes and breads that stay fresh longer and have superior texture.
Understanding these principles allows us to evaluate potential substitutes not just by taste, but by their functional capabilities in recipes.
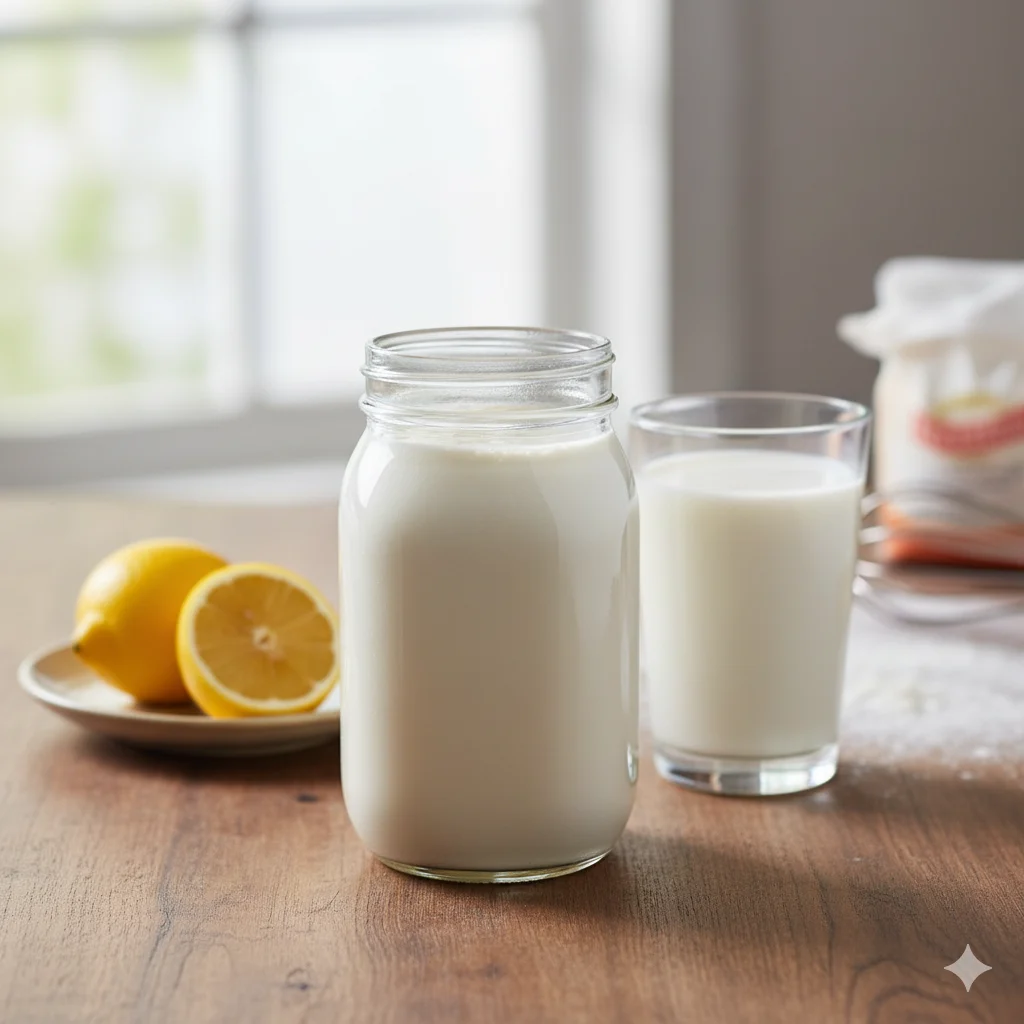
Method 1: The Classic 5-Minute Buttermilk Substitute
This is the workhorse of buttermilk substitutions—quick, reliable, and effective for most baking applications. While it doesn’t replicate cultured buttermilk’s complex flavor profile, it provides the essential acidity needed for chemical leavening and tenderizing.
The Science Behind the Method:
Adding acid to milk causes the casein proteins to denature and coagulate, creating the slightly thickened texture we associate with buttermilk. More importantly, it lowers the pH to the optimal range for activating baking soda.
Ingredients and Proportions:
- 1 cup liquid milk (whole milk preferred, but 2%, 1%, or skim work)
- 1 tablespoon acid (white vinegar, lemon juice, or cream of tartar)
Step-by-Step Execution:
- Measure Precisely: Pour 1 tablespoon of your chosen acid into a liquid measuring cup. White vinegar provides the most neutral flavor, while lemon juice can impart a subtle brightness that works well in certain recipes.
- Add Dairy: Pour milk into the same measuring cup until it reaches the 1-cup mark. Room temperature milk works best, as the acidification process occurs more efficiently.
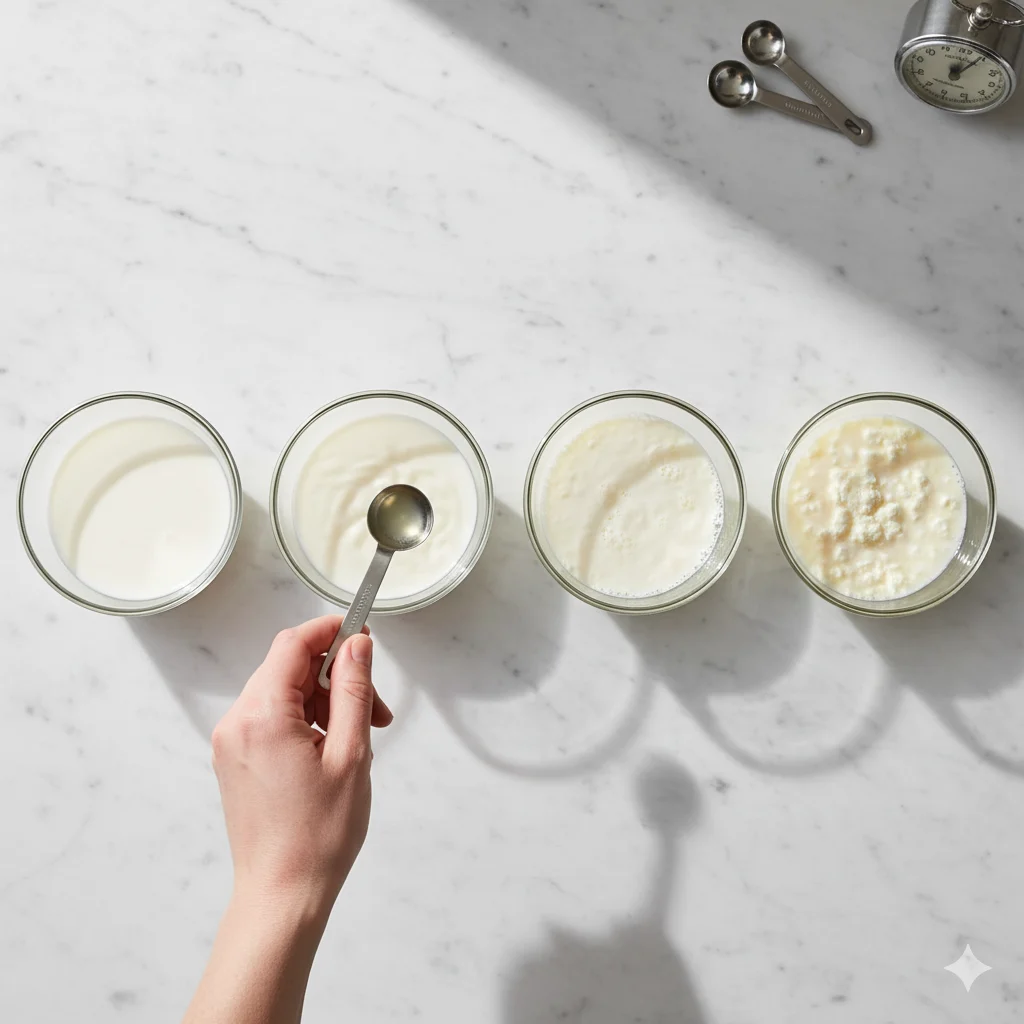
- Activate and Observe: Stir gently and let the mixture stand undisturbed for 5-10 minutes. During this time, you’ll witness visible transformation.
- Assess Readiness: The mixture is ready when it shows clear signs of curdling—small protein specks throughout, a slightly textured surface, and modest thickening. It won’t reach commercial buttermilk’s viscosity, but that doesn’t affect its functionality.
- Incorporate and Use: Give one final stir to distribute the curds evenly, then use immediately in your recipe.
Professional Insights:
- For recipes where buttermilk provides both acidity and significant thickness (like some creamy dressings), add a tablespoon of plain yogurt to better replicate the body of real buttermilk.
- If using cream of tartar, whisk it directly with the dry ingredients in your recipe, then add regular milk.
- The curdled appearance is normal and indicates the process is working correctly.
Best Applications:
- Pancakes, waffles, and quick breads
- Cakes, muffins, and scones
- Any recipe using baking soda as the primary leavening agent
Method 2: The Cultured Buttermilk Method
For those who regularly use buttermilk or need its authentic flavor and texture, this method creates a true cultured product that closely mimics—and often surpasses—commercial buttermilk.
The Science of Culturing:
This process harnesses lactic acid bacteria to ferment milk naturally, creating the complex flavor profile and thick texture of traditional buttermilk through biological transformation rather than simple acidification.
Ingredients and Equipment:
- 1 quart pasteurized milk (avoid ultra-pasteurized for better results)
- ¼ cup active cultured starter (commercial buttermilk with live cultures)
- Clean glass jars with lids
- Thermometer (recommended for consistency)
- Warm place for culturing (72-77°F/22-25°C ideal)
Detailed Culturing Process:
- Prepare the Medium: Gently warm the milk to 72-77°F (22-25°C). This temperature range encourages bacterial activity without risking contamination.
- Inoculate: Add the starter culture to your clean jars, then pour in the warmed milk. Secure lids and shake vigorously until the starter is completely incorporated.
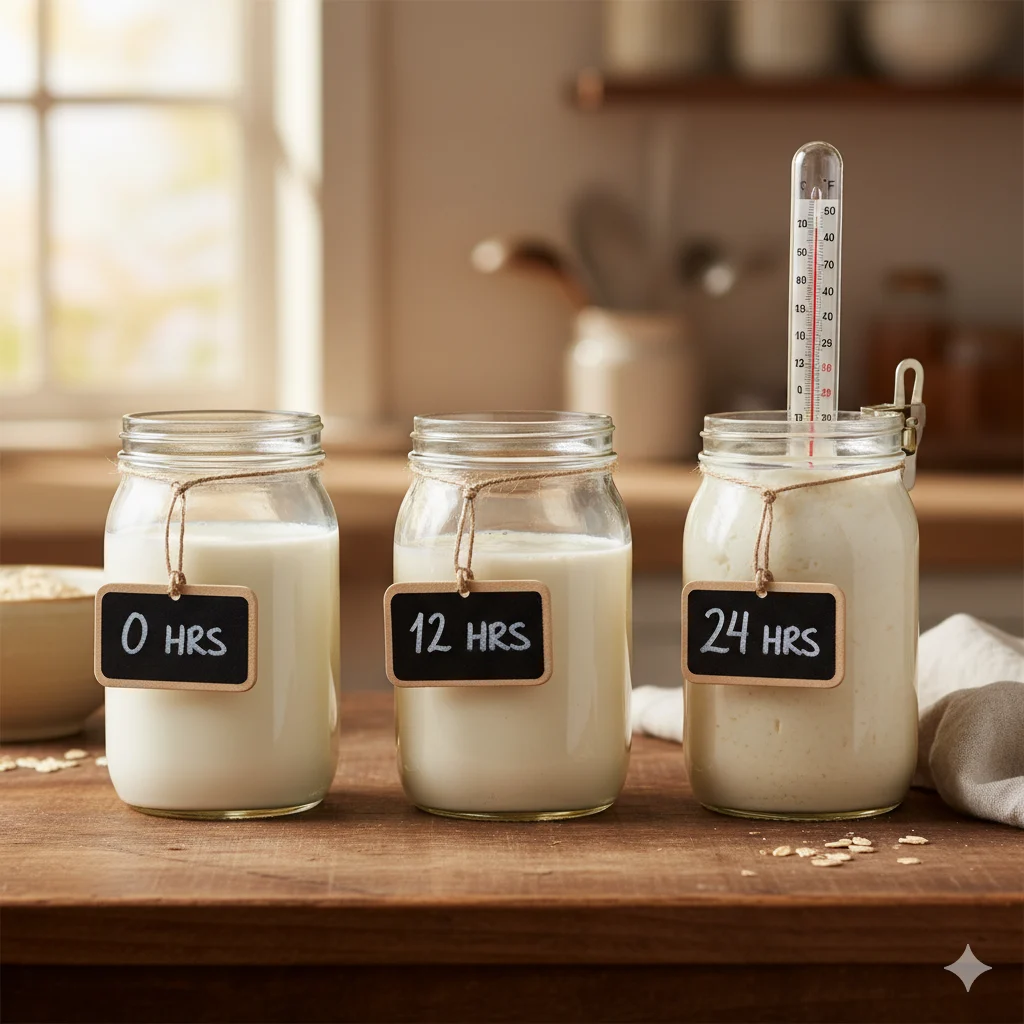
- Ferment: Let the jars sit at consistent room temperature for 12-24 hours. The culturing process works best away from direct sunlight and drafts.
- Monitor Development: Check after 12 hours. The buttermilk should have thickened noticeably and developed a pleasant, tangy aroma. If insufficiently thick, continue culturing for up to 24 hours total.
- Halt Fermentation: Once achieved desired thickness and flavor, refrigerate immediately to slow further fermentation.
- Maintain Your Culture: Reserve ¼ cup of your homemade cultured buttermilk to start your next batch. With proper care, you can maintain a continuous culture for several months.
Advanced Techniques:
- For thicker buttermilk, use whole milk and extend fermentation time
- For tangier flavor, allow longer fermentation at the lower end of the temperature range
- To create a heirloom culture, always reserve from your best batch and refresh weekly
Troubleshooting Cultured Buttermilk:
- Slow fermentation: Ensure your starter is fresh and active; maintain proper temperature
- Too thin: Extend fermentation time or use milk with higher fat content
- Unusual odors or colors: Discard immediately and begin with fresh starter
Method 3: Specialized and Dietary Substitutions
Modern cooking demands flexibility, and buttermilk substitutions have evolved to accommodate various dietary needs and ingredient availability.
Dairy-Free Buttermilk Alternatives:
Soy-Based Buttermilk:
- 1 cup unsweetened soy milk
- 1 tablespoon lemon juice or vinegar
- Let stand 5-10 minutes until curdled
Nut Milk Variations:
- 1 cup unsweetened almond or cashew milk
- 1 tablespoon acid
- Note: Results will be thinner due to lower protein content
Coconut Milk Option:
- 1 cup light coconut milk
- 1 tablespoon acid
- Adds subtle coconut flavor that works well in certain recipes
Yogurt and Sour Cream Variations:
Yogurt Thinned with Milk:
- ¾ cup plain yogurt + ¼ cup milk
- Whisk until smooth
- Excellent thickness and tang
Sour Cream Method:
- ½ cup sour cream + ½ cup milk
- Ideal for recipes requiring rich, thick buttermilk
Kefir as Buttermilk:
- Use plain, unsweetened kefir 1:1 for buttermilk
- Provides similar tang with additional probiotic benefits
Comparative Analysis: Choosing the Perfect Method
| Situation | Recommended Method | Technical Rationale | Result Quality |
|---|---|---|---|
| Emergency baking | 5-minute acidified milk | Instant pH adjustment for leavening | Functionally excellent, flavor good |
| Weekly meal prep | Cultured method | Biological fermentation creates complexity | Superior flavor and texture |
| Dairy-free needs | Soy milk + acid | High protein content allows proper curdling | Functionally good, flavor varies |
| Salad dressings | Cultured method or yogurt base | Thickness and flavor complexity crucial | Professionally optimal |
| Marinades | 5-minute method | Adequate acid for tenderizing | Excellent results |
| Special diets | Kefir substitution | Live cultures, similar acidity | Nutritionally enhanced |
Advanced Applications and Professional Techniques
Baking Mastery:
- For extra-tender cakes, use cultured buttermilk and extend mixing time minimally
- In bread baking, buttermilk adds flavor complexity and delays staling
- For flaky pie crusts, buttermilk creates superior tenderness without sacrificing structure
Savory Applications:
- Buttermilk marinades work best with a 2-12 hour soaking time
- For fried chicken, cultured buttermilk provides superior flavor penetration
- In salad dressings, the thickness of cultured buttermilk creates better emulsion
Flavor Pairing Principles:
- Cultured buttermilk enhances herbal notes in savory dishes
- In sweet applications, it balances intense sweetness and rich flavors
- The tanginess complements spices like cinnamon, nutmeg, and vanilla
Storage and Preservation:
- 5-minute substitutes: Use immediately
- Cultured buttermilk: 2-3 weeks refrigerated
- Freezing: Possible but texture changes slightly upon thawing
- Preservation: Buttermilk powder offers shelf-stable alternative
Troubleshooting Common Buttermilk Issues
Problem: Baked goods didn’t rise properly
- Cause: Insufficient acid to activate baking soda
- Solution: Ensure proper curdling in 5-minute method; check starter vitality in cultured method
Problem: Unpleasant texture in final product
- Cause: Wrong fat content or over-mixing
- Solution: Match milk fat to recipe needs; mix until just combined
Problem: Buttermilk too thick for pouring
- Cause: Over-culturing or high-fat milk
- Solution: Thin with small amount of milk; adjust culturing time
Problem: Insufficient tanginess
- Cause: Short culturing time or weak starter
- Solution: Extend fermentation; refresh culture with new starter
Frequently Asked Questions
Q: Can I use apple cider vinegar instead of white vinegar?
A: Yes, though it may impart a slight fruity note. In strongly flavored recipes like chocolate cake or spice bread, this is rarely noticeable. For delicate vanilla cakes, white vinegar or lemon juice is preferable.
Q: Why does my homemade buttermilk look different from store-bought?
A: Commercial buttermilk often contains stabilizers and thickeners like carrageenan or guar gum. The 5-minute method creates functional acidity but not the same texture. The cultured method will produce a closer visual match.
Q: My cultured buttermilk separated. Is it still usable?
A: Yes, this is natural in cultured dairy products. Simply shake or stir to reincorporate the whey that has separated from the curds.
Q: Can I make buttermilk from non-dairy milk?
A: Absolutely. Unsweetened soy milk works best due to its higher protein content, which allows it to curdle more effectively. Almond, oat, and cashew milk will work but may produce a thinner result.
Q: How can I tell if my cultured buttermilk has spoiled?
A: Discard if you detect any mold, unusually sharp or unpleasant odor, or pink/orange discoloration. Normal cultured buttermilk should have a clean, tangy smell and uniform color.
Q: Why is my baked good denser when using the 5-minute substitute?
A: This typically indicates either insufficient curdling time or outdated baking soda. Ensure your milk has visibly curdled before use, and test your baking soda by adding a pinch to vinegar—it should bubble vigorously.
Q: Can I use buttermilk substitution in all recipes?
A: While most recipes adapt well, some traditional recipes specifically designed for cultured buttermilk’s unique properties (like buttermilk pie or certain heritage recipes) work best with the real thing or a properly cultured substitute.
Q: How does buttermilk affect the browning of baked goods?
A: The lactose (milk sugar) in buttermilk participates in Maillard reactions and caramelization, leading to enhanced browning. This is why buttermilk biscuits and breads often have beautifully golden-brown crusts.
Q: Can I make buttermilk with powdered milk?
A: Yes, reconstitute powdered milk according to package directions, then use the 5-minute acidification method. This is particularly useful for emergency situations or camping.
Conclusion: Mastering the Art of Buttermilk Substitution
The journey through buttermilk substitution reveals much more than kitchen shortcuts—it unveils fundamental principles of culinary science that empower creative cooking. Whether you choose the immediate practicality of the 5-minute method or embark on the rewarding path of maintaining your own cultured buttermilk, you’re not just substituting an ingredient—you’re understanding transformation itself.
This knowledge represents culinary freedom: the confidence to adapt recipes to your needs, the wisdom to understand why certain techniques work, and the creativity to innovate beyond written instructions. The true mastery lies not in rigid formulas, but in comprehending the underlying principles that make buttermilk so valuable—the acid-base reactions, protein interactions, and flavor development that occur in your mixing bowl and oven.
As you incorporate these techniques into your cooking repertoire, you’ll find yourself approaching recipes with new insight and confidence. You’ll recognize when a quick substitution suffices and when a cultured approach elevates the dish. Most importantly, you’ll possess the knowledge to never be thwarted by a missing ingredient again, transforming potential kitchen frustrations into opportunities for culinary creativity and discovery.
The art of buttermilk substitution ultimately teaches us that limitations often breed innovation, and that understanding the “why” behind ingredients unlocks far more culinary potential than simply following recipes. With this comprehensive guide, you’re now equipped not just to make buttermilk, but to understand it—and that understanding is the true key to kitchen mastery.