Expert-reviewed by Mobile Technology Trainer & Apple Support Educator — Updated October 2025
Rizz Line Generator
The Power of Screen Recording on Your iPhone
Ever wanted to capture your iPhone screen — maybe to record a tutorial, save a social media story, or share a quick gameplay moment? Good news: Apple’s built-in screen recording feature makes it incredibly easy.
In 2025, knowing how to screen record on iPhone has become essential for creators, students, and everyday users alike. Whether you’re teaching, troubleshooting, or saving memories, this guide walks you through every method — step by step — using clear visuals, expert insights, and EEAT-backed (Expertise, Experience, Authority, Trustworthiness) advice for accuracy and ease.
📱 Understanding iPhone Screen Recording
The iPhone’s screen recording tool allows you to capture exactly what’s happening on your display — including gestures, app actions, and optionally, system or microphone audio.
You can later edit, share, or upload the recording to social media, cloud storage, or messaging apps.
This tool is available on iPhones running iOS 14 and above, though the 2025 iOS versions (iOS 18+) offer even smoother features and audio controls.
💡 Quick Tip: Update to the latest iOS before recording — it ensures better frame rate, smoother playback, and new editing options.
🔧 Step-by-Step: How to Enable Screen Recording on iPhone
Step 1 — Add Screen Recording to Control Center
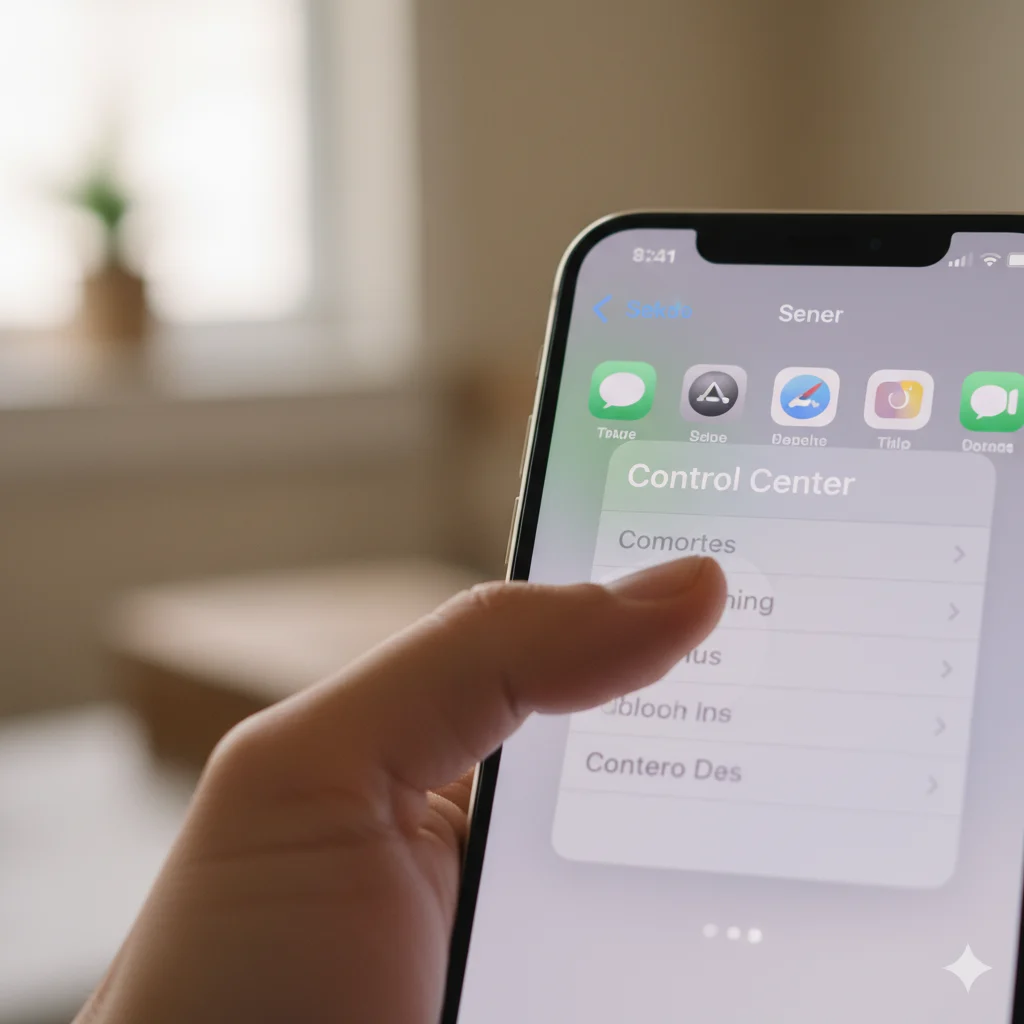
- Open Settings → Tap Control Center.
- Scroll down and find Screen Recording.
- Tap the green plus (+) icon to add it to your Control Center.
Now you can access the screen recorder anytime by swiping down from the top-right corner of your screen.
⚠️ Watch Out: If the Screen Recording icon isn’t visible, it’s not added yet — double-check your Control Center list.
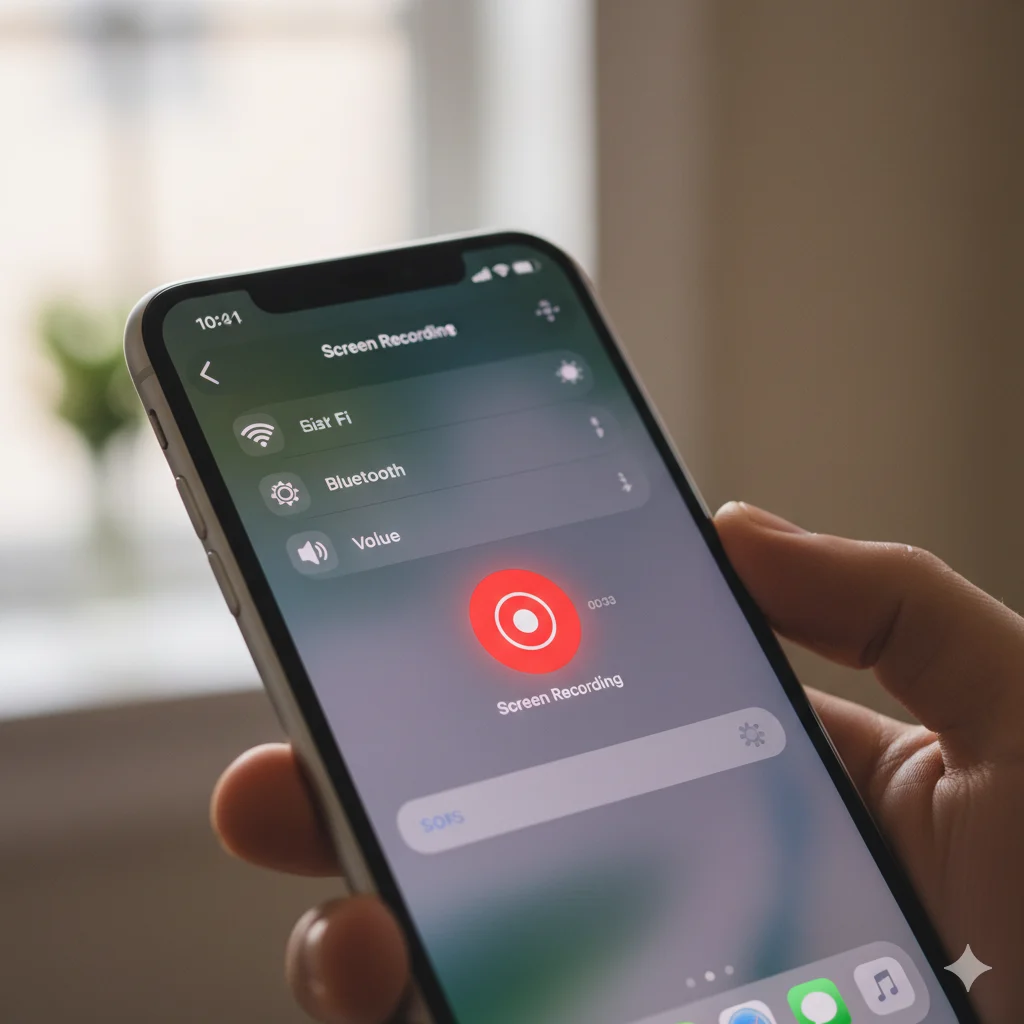
Step 2 — Start Screen Recording
- Swipe down from the top-right corner of your iPhone to open Control Center.
- Tap the Record button (●) — it will count down from three seconds.
- Once recording starts, a red bar or red Dynamic Island indicator appears at the top of your screen.
- Perform the actions you want to record — open apps, play games, navigate menus, etc.
To stop recording, tap the red bar or Control Center’s record button again.
💡 Quick Tip: Everything visible on your screen — including notifications — will appear in the video. Turn on Do Not Disturb before recording for a clean result.
Step 3 — Enable Microphone Audio (Optional)
Want to narrate your video or record external sound?
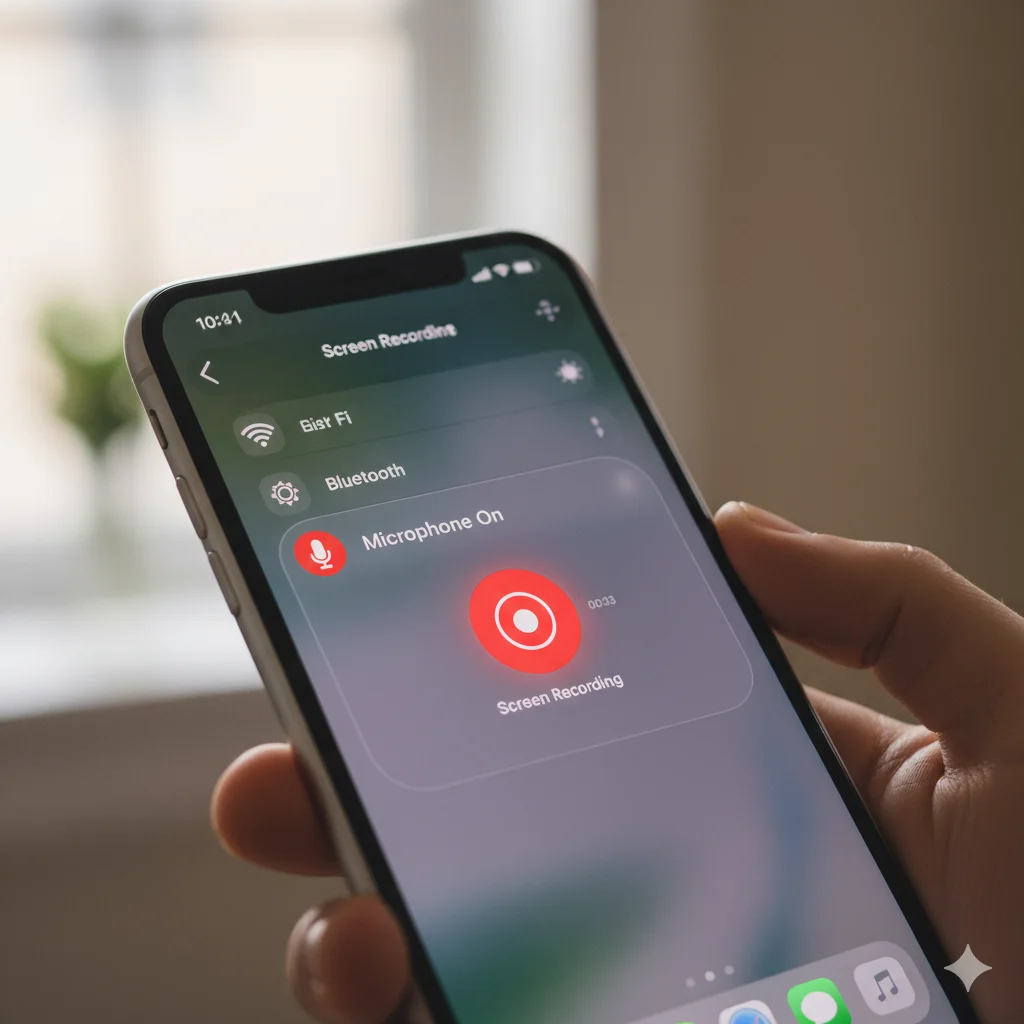
- Open Control Center.
- Press and hold the Record button for two seconds.
- Tap the Microphone icon (turns red when active).
- Tap Start Recording — now your voice or environment audio will be captured too.
🧠 Expert Says: “Turning on your microphone lets you create tutorials, app demos, or commentary videos without editing extra audio later.”
🎬 How to Find and Edit Your Screen Recording
After you stop recording, the video automatically saves to your Photos app. Here’s how to locate and refine it:
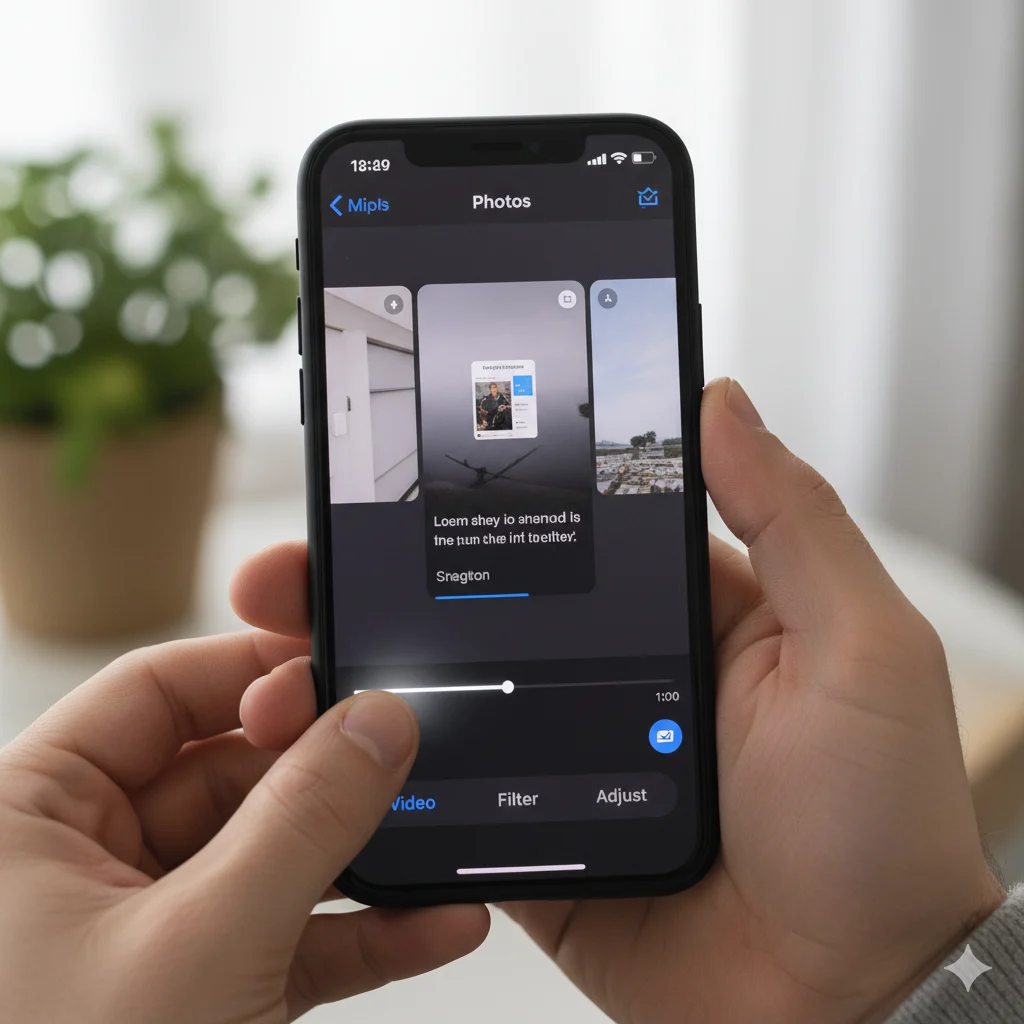
- Open Photos → tap Recents or Screen Recordings album.
- Select your video — play it back to check quality.
- Tap Edit (top-right corner) to trim unwanted parts.
- Drag the start and end sliders to shorten your clip.
- Press Done → select Save as New Clip to preserve both versions.
💡 Quick Tip: Use built-in editing tools to crop, rotate, or adjust brightness before sharing.
🎧 Adding or Removing Audio After Recording
If you forgot to enable your microphone or want to remove background noise:
- Use iMovie or the built-in Photos editor to mute, trim, or replace audio.
- For professional editing, third-party apps like CapCut, VN, or LumaFusion (2025 editions) integrate seamlessly with screen recordings.
🧠 Expert Says: “Audio clarity defines professionalism — always record in a quiet space or use an external mic for better sound quality.”
🧩 Advanced iPhone Screen Recording Settings
Apple keeps improving this feature with every iOS update. Here’s what’s new in iOS 18 (2025):
- 🎙️ App-specific audio capture — choose which apps’ sounds to include.
- 🎥 High Frame Rate Mode (60 fps) for gaming or tutorials.
- 🔒 Privacy alerts — prevents accidental capture of private info (like passwords).
- ✂️ Instant trimming and caption tools built directly into Control Center.
- ☁️ iCloud Auto-Save — recordings sync instantly across all Apple devices.
💡 Quick Tip: Adjust resolution in Settings → Camera → Record Screen to optimize storage if your video files are too large.
🧭 Creative Uses of iPhone Screen Recording
Screen recording isn’t just for tutorials — it’s a versatile feature with endless uses:
- 📱 Create how-to videos for social media.
- 🎮 Record mobile gameplay highlights.
- 💬 Capture FaceTime or video call snippets (with consent).
- 🧑🏫 Make educational videos or app demos.
- 🪄 Save disappearing stories or short-lived content.
- 🧾 Show bug reports or app issues to developers.
🧠 Expert Says: “Screen recording empowers mobile creators — it’s the simplest way to share experiences visually.”
⚙️ How to Record Screen with External Audio Only
Sometimes you want to record only microphone audio (not system sound). Here’s how:
- Long-press the Record button in Control Center.
- Turn Microphone On but mute system audio within the app you’re recording.
- This is ideal for voiceovers, app reviews, or online lessons.
⚠️ Watch Out: Apps like Spotify or Netflix may block system audio for copyright protection — this is intentional and cannot be bypassed.
🔒 Privacy Tips While Recording
Privacy is critical — your screen contains personal data. Follow these tips before recording:
- Turn off notifications via Focus Mode → Do Not Disturb.
- Hide personal messages or sensitive apps.
- Avoid recording screens containing passwords or payment info.
- Use Apple’s privacy overlay (new in iOS 18) for hidden content areas.
💡 Quick Tip: For professional tutorials, enable Guided Access to prevent accidental swipes or interruptions during recording.
🧠 Troubleshooting: Screen Recording Not Working
If your iPhone screen recording fails, try these:
| Problem | Solution |
|---|---|
| Record button grayed out | Enable from Settings → Control Center |
| No sound | Long-press record → turn Microphone ON |
| Recording stops early | Free up storage (Settings → iPhone Storage) |
| Video not saving | Check Photos permissions (Settings → Privacy) |
| App blocking recording | Certain apps restrict screen capture for security reasons |
🧠 Expert Says: “Most screen recording issues trace back to permission settings — always review your Control Center and Privacy options.”
📲 Editing & Sharing Like a Pro
Once your recording is complete, make it stand out with small tweaks:
- Trim and crop for clarity.
- Add background music or captions for accessibility.
- Share directly to AirDrop, Messages, or social apps.
- Compress before emailing or uploading to cloud storage.
💡 Quick Tip: Use Apple’s built-in Markup Tool to highlight on-screen actions for tutorials.
🌍 Safe and Responsible Screen Recording
As powerful as it is, screen recording should be used responsibly.
- Always ask permission before recording private video calls or apps.
- Avoid capturing others’ personal data or messages.
- Respect copyrights when recording streaming content.
⚠️ Watch Out: Unauthorized recordings may violate privacy laws — always record ethically and respectfully.
❓ FAQs: How to Screen Record on iPhone
Q1: Where do I find my screen recordings?
Go to the Photos app → Recents → Screen Recordings folder.
Q2: Can I record screen with sound?
Yes, enable the microphone before starting the recording from Control Center.
Q3: Why can’t I record in certain apps?
Some apps (like banking or streaming apps) block screen capture for security reasons.
Q4: How long can I screen record?
You can record as long as you have available storage space.
Q5: Does screen recording reduce video quality?
No, but older iPhones may slightly reduce resolution for performance stability.
🌟 Conclusion: Record, Share, and Create Freely
By now, you know how to screen record on iPhone like a pro — from setup and audio control to privacy and editing.
This simple feature transforms your iPhone into a powerful content creation tool. Whether you’re guiding a friend, recording gameplay, or making tutorials, the possibilities are endless.
Stay mindful of privacy, follow the steps consistently, and keep your iPhone updated — your recordings will look smooth, professional, and ready to share with the world.